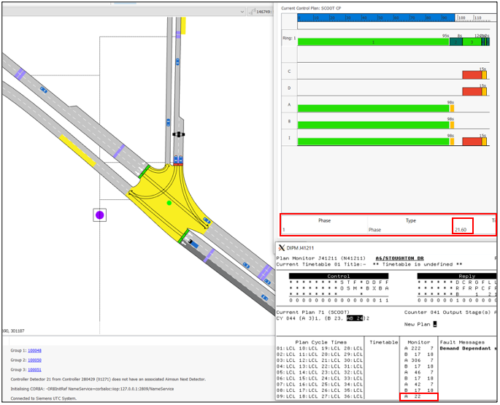
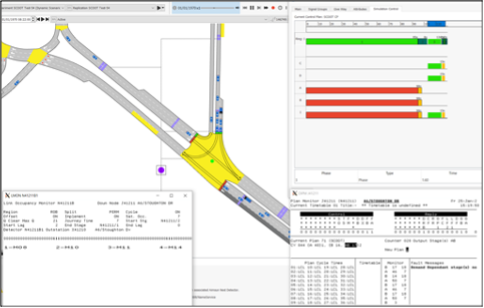
The following step-by-step guide (12 steps) explains how to connect a junction in Aimsun Next to SCOOT in a Windows OS environment.
- Press the Start key and search for “UTC Backup and Restore”.
- Enter your SCOOT Username and Password. These credentials will be provided by the SCOOT expert. The UTC Backup and Restore dialog is displayed.
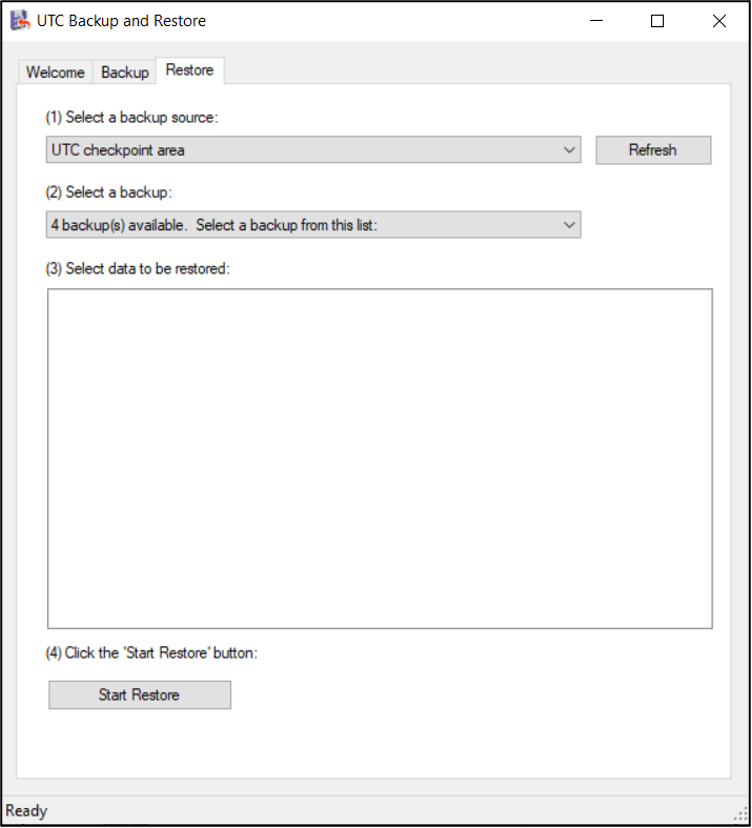
- Click the Restore tab and then:
- From the drop-down menu (1) Select a backup source, select UTC checkpoint area.
- Click Start Restore to restore UTC detector and signals data from the UTC database.
- Press the Start key and search for “UTC Machine Configuration”.
- Select System Startup > Start UTC System > OK.
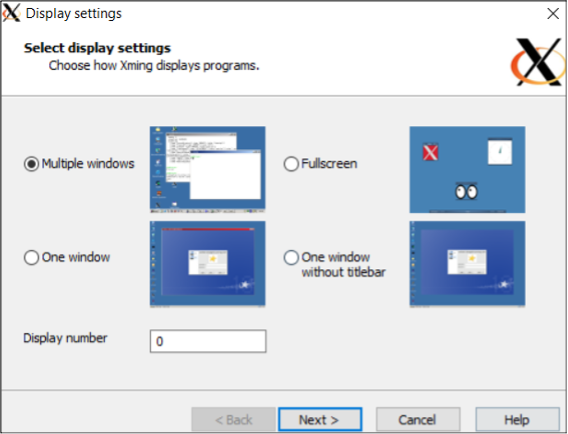
- Press the Start key and search for “XLaunch”.
- Start the XLaunch application and, in the setting window, keep the preselected selections.

- Right-click on the Taskbar icon Xming and select UTC Login.

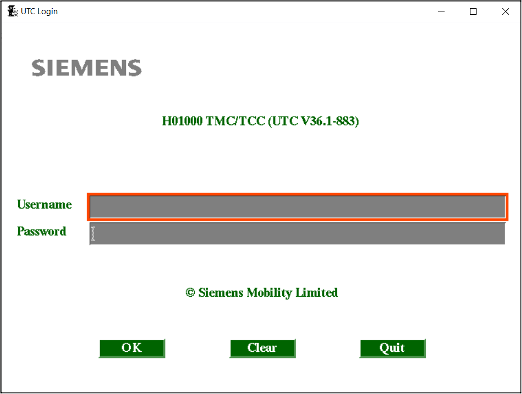
- The UTC Login dialog will be displayed. Reenter your SCOOT Username and Password, and click OK.
The following dialogs will be displayed.

In our example we will connect specific SCOOT junctions to an ‘external’ application (Aimsun Next) and view messages while the simulation is running. To do this, we need to set the junction sites on the SCOOT control.
- In the field Enter a UTC command, type SCOO R* and click Accept.
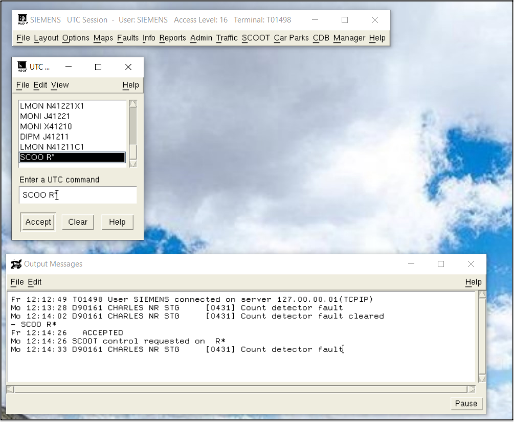
- To display the most important messages in the Output Messages dialog, enter the following commands:
- MESS D80 H01000
- MESS D81 H01000

- (Optional) You can also enter the following commands if required.
- To monitor the control plan of a specific junction (junction IDs begin with J): DIPM J41211
- To restart SCOOT if it doesn’t respond:
XSCO R* (removes all regions from SCOOT)
REIN
SCOO R*
- To monitor the status of a detector: LMON N41211A
- To check the SCOOT configuration: LVAL N41211A
By this stage, SCOOT should be up and running and ready to connect with Aimsun Next.
